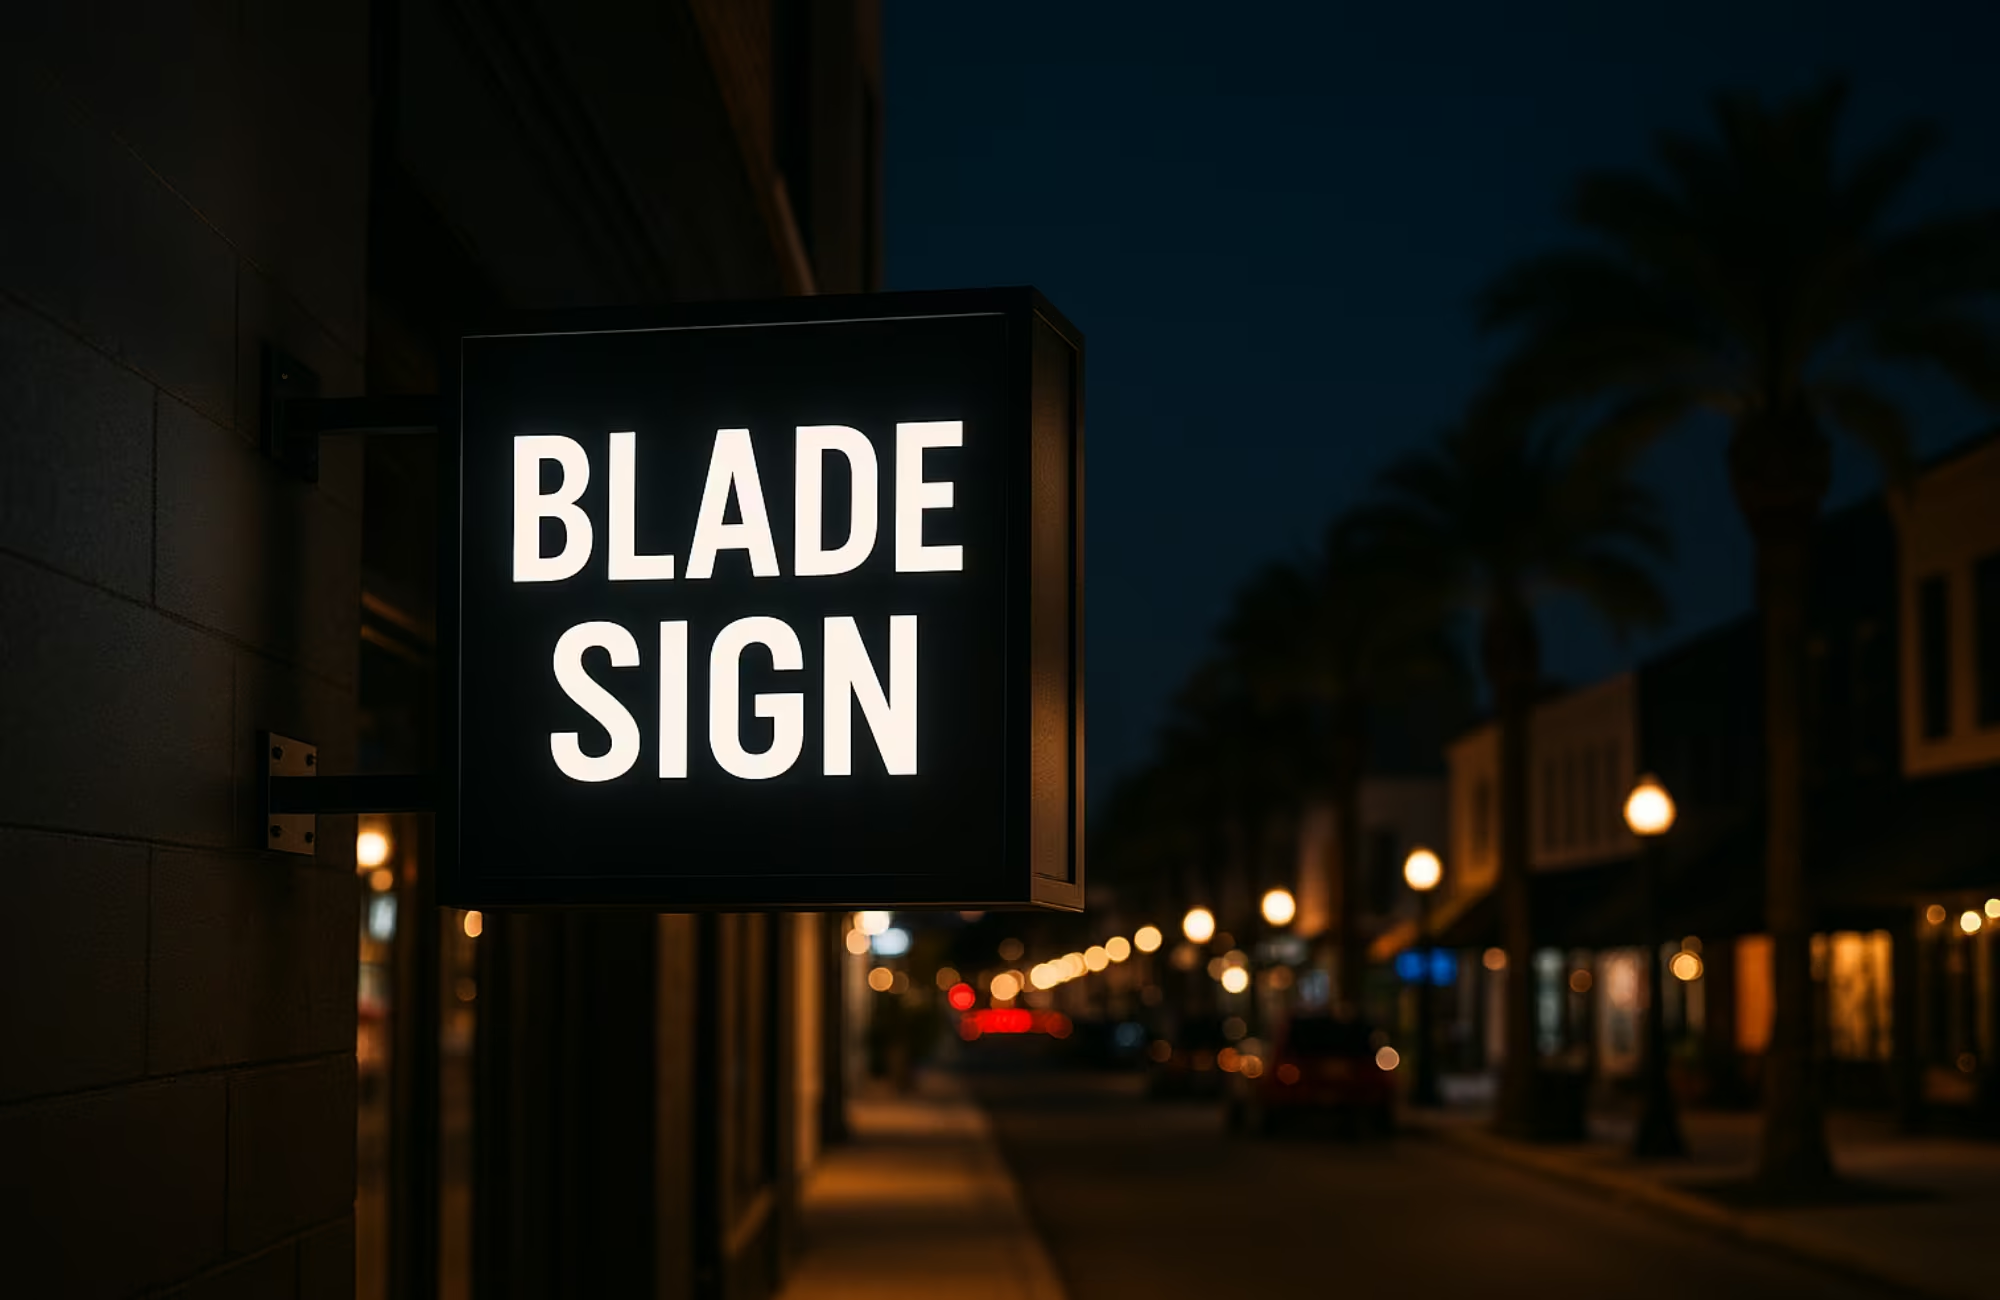
How to Make Your Blade Sign Stand Out in Florida
Blade signs—also called projecting signs—extend perpendicular to your storefront so people walking or driving past can see you from down the block. Built as double-sided panels with optional LED illumination, they’re ideal for busy streets and pedestrian districts across Tampa Bay. Use this guide to plan the right size, materials, lighting, brackets, permits, and installation so your blade sign is readable, durable, and code-compliant.
How to Choose the Right Blade Sign Type
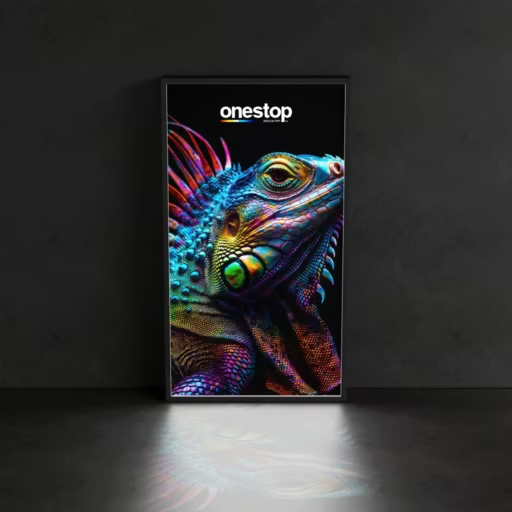
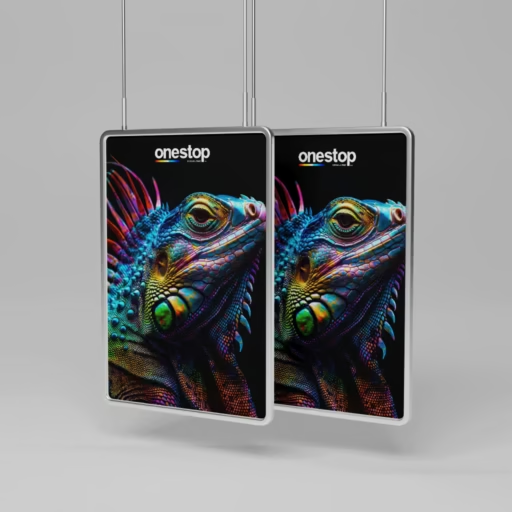
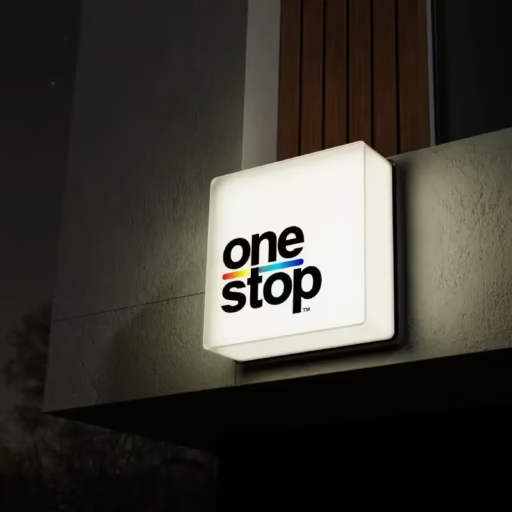
Front-lit lightbox, push-through acrylic letters, halo-lit logo cabinets, and non-illuminated panels each create a different look. Lightboxes deliver even face illumination for evening visibility. Push-through acrylic adds depth and crisp edges. Halo-lit cabinets create a soft glow around letterforms. Non-illuminated aluminum or HDU panels work well under strong ambient lighting or covered arcades.
How to Pick Durable Materials for Florida Weather
Use aluminum cabinets or aluminum-skinned composite panels for corrosion resistance. Acrylic or polycarbonate faces resist impact and UV yellowing. Marine-grade paints and powder coats protect color near the coast. Stainless hardware and sealed seams reduce water intrusion during summer storms.
How to Get Lighting Right for Day and Night
High-efficiency LED modules provide uniform brightness with low power draw. Neutral-white (4000–5000K) reads crisp for retail; warmer tones suit hospitality. Edge-lit acrylic can keep cabinets thin while staying bright. Add dimming where nighttime brightness limits apply or where ambient light changes through the evening.
How to Size for Pedestrians vs. Drive-By Traffic
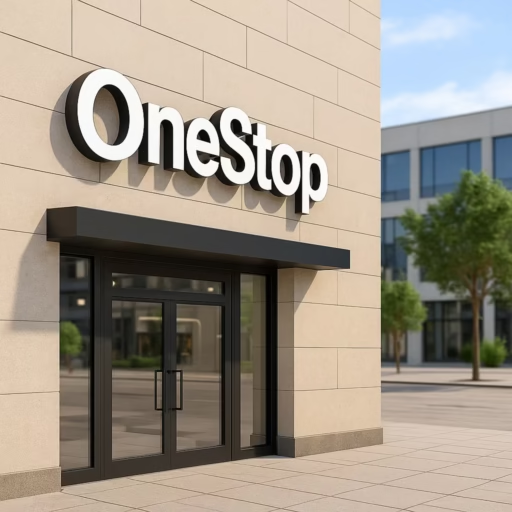
Choose letter height and panel size based on viewing distance and approach angles. On walkable blocks like Ybor City, narrower panels with taller letters work well. On faster corridors such as Dale Mabry or Westshore, increase overall panel height and keep message lines short. Maintain strong contrast and avoid ultra-thin strokes.
How to Design for Readability and Brand Consistency
Limit the face to your primary name and one short descriptor or icon. Use your brand font if it holds shape when lit; otherwise select a clean, high-contrast alternative. Push-through acrylic letters keep edges sharp. If your façade is dark, a light face or backer panel increases contrast.
How to Choose the Right Mounting Bracket
A robust steel or aluminum bracket with through-bolts into structure is critical. Side-mounted scroll brackets suit historic storefronts; plate brackets fit modern façades. Confirm wall substrate (CMU, steel, wood) and add blocking if needed. Ensure the bracket allows easy service access for power supplies and LEDs.
How to Meet Tampa Codes and Landlord Criteria
Check projection limits over the sidewalk, minimum ground clearance, and lighting rules before you finalize design. Historic districts may require specific bracket styles or reduced brightness. Many plazas specify cabinet depth, color, or alignment. Submit drawings, attachment details, and electrical specs with your permit package to speed approval.
How to Install Safely and On Schedule
Start with a site survey to confirm structure, conduit path, and lift access. Pre-fit the cabinet, verify wiring, then seal all penetrations. Level the bracket, tighten hardware to spec, and protect dissimilar metals. Finish with a nighttime aim/brightness check to confirm legibility without glare.
How to Maintain and Retrofit
Clean faces periodically to remove dust and pollen. Inspect gaskets, seams, and fasteners after heavy weather. Retrofit older fluorescent or neon cabinets with modern LED modules for brighter output and lower energy cost. Replace aging power supplies proactively to avoid outages.
How to Control Costs Without Sacrificing Impact
Prioritize readability—letter height, contrast, and brightness—before decorative flourishes. Value-engineer with standard cabinet depths and stocked LED modules. If budget is tight, begin with a non-illuminated panel and upgrade to a lightbox later, using the same bracket and mounting points.
How to Select the Best Locations in Tampa Bay
Downtown Tampa and Channelside benefit from pedestrian-scaled panels with crisp push-through letters. Ybor City often favors traditional scroll brackets and restrained lighting. Clearwater Beach and tourist corridors reward bolder faces with stronger contrast. Suburban plazas in Brandon, Riverview, Lutz, Wesley Chapel, and Temple Terrace typically follow tenant criteria—align size and elevation to maintain a clean row.
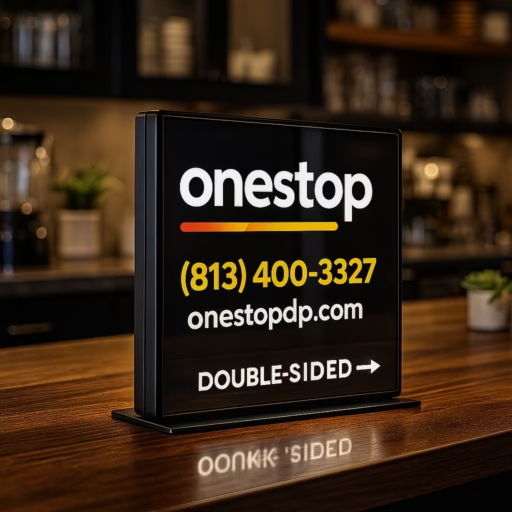
How to Order a Blade Sign with Onestop
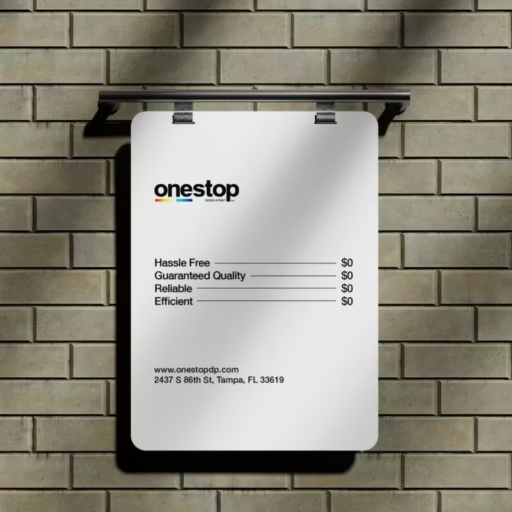
Share your logo, brand colors, and site photos. We’ll recommend type, size, lighting, and bracket style; produce a design proof; handle permits; fabricate with weather-resistant materials; and install safely. We also support maintenance and LED retrofits for existing cabinets.
Get Started Today (Tampa & Nearby Cities)
Onestop designs, fabricates, and installs blade signs across Tampa, St. Petersburg, Clearwater, Brandon, Riverview, Lutz, Wesley Chapel, and throughout Pasco and Pinellas counties. Request a free quote with recommended sizes, lighting, and bracket options tailored to your façade and traffic conditions.
Top Indoor & Outdoor Signs
Best-selling stretch, round, 4ft, 6ft, and 8ft custom table covers — all printed in vivid color with fast Tampa pickup or Florida delivery.


Customer Reviews
Owner's reply
Thank you so much for your amazing feedback! We're thrilled to hear that you loved the service, quality, and signs. It's wonderful to know that everything exceeded your expectations. We look forward to working with you again in the future!Posted on
Owner's reply
Thank you so much for your fantastic review! We're thrilled to hear that you are pleased with our quality, delivery speed, and pricing. We look forward to serving you again soon.Posted on
Owner's reply
Thank you so much for the love and support! We're thrilled to know you had a great experience with us. We look forward to serving you again in the future!Posted on
Owner's reply
Thank you so much for your positive feedback! We're delighted to hear that you're satisfied with the banner's quality and price. It's our goal to provide excellent service, and we're thrilled to have met your expectations. We look forward to serving you again!Posted on
Owner's reply
Thank you for your kind words and recommendation! We are thrilled to hear that you are satisfied with our services and quality. We look forward to serving you again in the future.Posted on
Owner's reply
Thank you for your kind words and continued support! We're thrilled to hear that our quality and service continue to meet your expectations, even from afar. Shipping directly to you is just one of the ways we strive to make sure your experience with us is hassle-free and convenient. Your recommendation means a lot to us, and we look forward to assisting you with future printing needs. Thanks again!
Join Our Newsletter
Join Our List for the Best Custom Printing Deals in Tampa — Only at OneStop!