White Ink Printing
3 MIN READ | LEVEL: MEDIUM
Popular Search Terms:
Support › Color & Ink › White Ink Printing

Onestopdp’ online printing services include white ink printing on a variety of substrates, including colored stock, Kraft paper and clear vinyl decals. White ink can be printed as the solitary color in the design or in combination with full-color printing, as a fifth color in the CMYK process.
HP ElectroInk
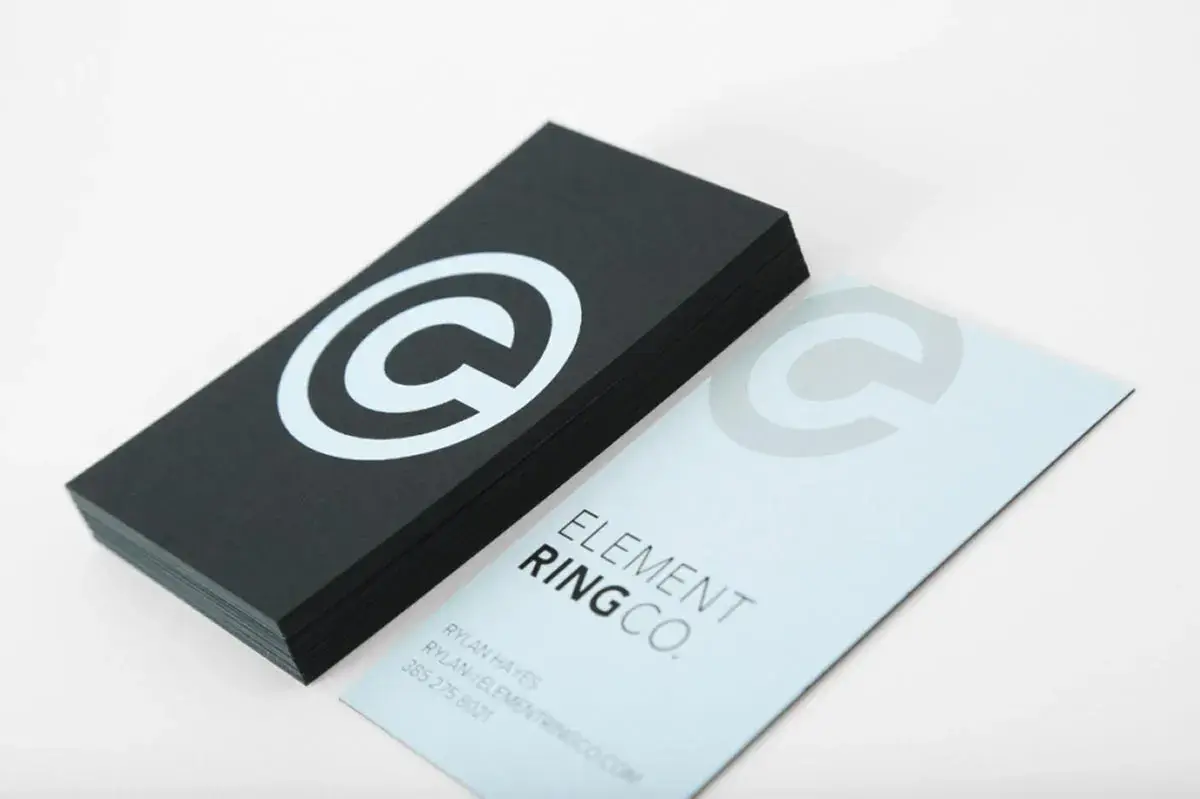
Whether you want white ink on black paper or a myriad of other design options, we use HP ElectroInk White with our HP Indigo press. HP ElectroInk is the first white ink developed specifically for digital printing presses, and the results are truly stunning.
It can make your business cards, invitations, stickers and more stand out in a couple different ways. White ink printing can be applied to your project:
- As the only color to create contrast and add depth to your design
- As part of our full-color CMYK process, acting as a white canvas on which full-color designs can be printed, and in turn, making those colors stunning, bold and bright

White Ink Appearance
High-quality white ink printing hasn’t always been available. Traditional white inks require multiple passes and extended drying times to get the desired results. Onestopdp’ digital white ink is semi-opaque with a slight gray tint.
However, online printing results vary depending on the paper stock, so it may not always be completely opaque. It dries almost immediately, allowing for a quick turnaround time for printers that print white ink.
White Ink Printing File Setup
Follow the instructions below to set up your print-ready file for white ink printing. If you are unable to or have questions, please contact your customer service prepress representative for help.
Adobe InDesign
- Create a new layer for the custom white ink portions of your design and name it White (Note: Be sure to capitalize White).
- Create a new color swatch by going to Window > Color > Swatches. The Swatch Palette will appear.
- Click in the upper right-hand corner of the Swatch Palette and select Add New Color. It defaults to black, but we suggest you make the color light blue (20% Cyan) so the white is more visible.
- Select Spot in the Color Type dropdown menu. Change the swatch name to White (capitalized) and click OK.
- On the White layer with the White color, fill in the objects you would like to have colored white. If you want white to be printed behind a design element, trace the shape you need.
- Go to Window > Output > Attributes and check the Overprint Fill and Overprint Stroke box (if applicable).
- When saving your file, the White layer should be at the top, with the rest of the artwork behind it.
Your file is now ready for submission!
Adobe Illustrator
Create a new layer for the custom white ink portions of your design and name it White (Note: Be sure to capitalize White).
Create a new color swatch by going to Window > Color > Swatches. The Swatch Palette will appear.
Click in the upper right-hand corner of the Swatch Palette and select Add New Color. It defaults to black, but we suggest you make the color light blue (20% Cyan) so the white is more visible.
Select Spot in the Color Type dropdown menu. Change the swatch name to White (capitalized) and click OK.
On the White layer with the White color, fill in the objects you would like to have colored white. If you want white to be printed behind a design element, trace the shape you need.
Go to Window > Attributes and check the Overprint Fill and Overprint Stroke box (if applicable).
When saving your file, the White layer should be at the top, with the rest of the artwork behind it.
Your file is now ready for submission to your online printer!
Learn more: White Ink: A Stunning Design Specialty
