How to Hang Your Banner
3 MIN READ | LEVEL: BASIC
Popular Search Terms:
Support › Product Resources › How to Hang Your Banner
How you plan to use Hanging Banners determines how best to install them. Will you be hanging your custom banners on stands? From the ceiling? Inside or outside? As you design yours for online printing, these are important questions to consider before you learn how to hang your banner.
As part of our online printing services, we offer many finishing options that make the installation process simple. Take a look at them below and choose the right one (or a combination) for your banner.
Pole Pockets

A pole pocket is created by folding over banner material and sewing it to the back of the banner. They’re commonly used to free-hang a banner and keep it rigid or to weigh down the bottom of the banner with a dowel.
Features
- An easy hanging option when installing your banner onto a pole or dowel.
- Add a pocket on the bottom of the banner and insert a wooden dowel to keep it straight and taught.
- Pole pockets for banners can also be added to the left or right sides so you can slide the banner onto a stand.
- Choose a pocket size that’s slightly larger than the pole so you can install it easily.
- Be sure to take the size of the pole pockets into account when you specify your dimensions and prepare your file.
- Wooden dowel guidelines:
- 1.5” Pockets – Fit dowels up to 3/4″ in diameter
- 2.5” Pockets – Fit dowels up to 1” in diameter
- When ordering:
- Pocket width is added to the banner size so the outer edge of the pocket follows the original art border, ensuring the finished product matches the “Final Size in Inches” you specified in the calculator.
- Stitching is placed at the specified distance from the outer edge (inside the print area of your original art).
- Hems and pole pockets cannot be on the same edge.
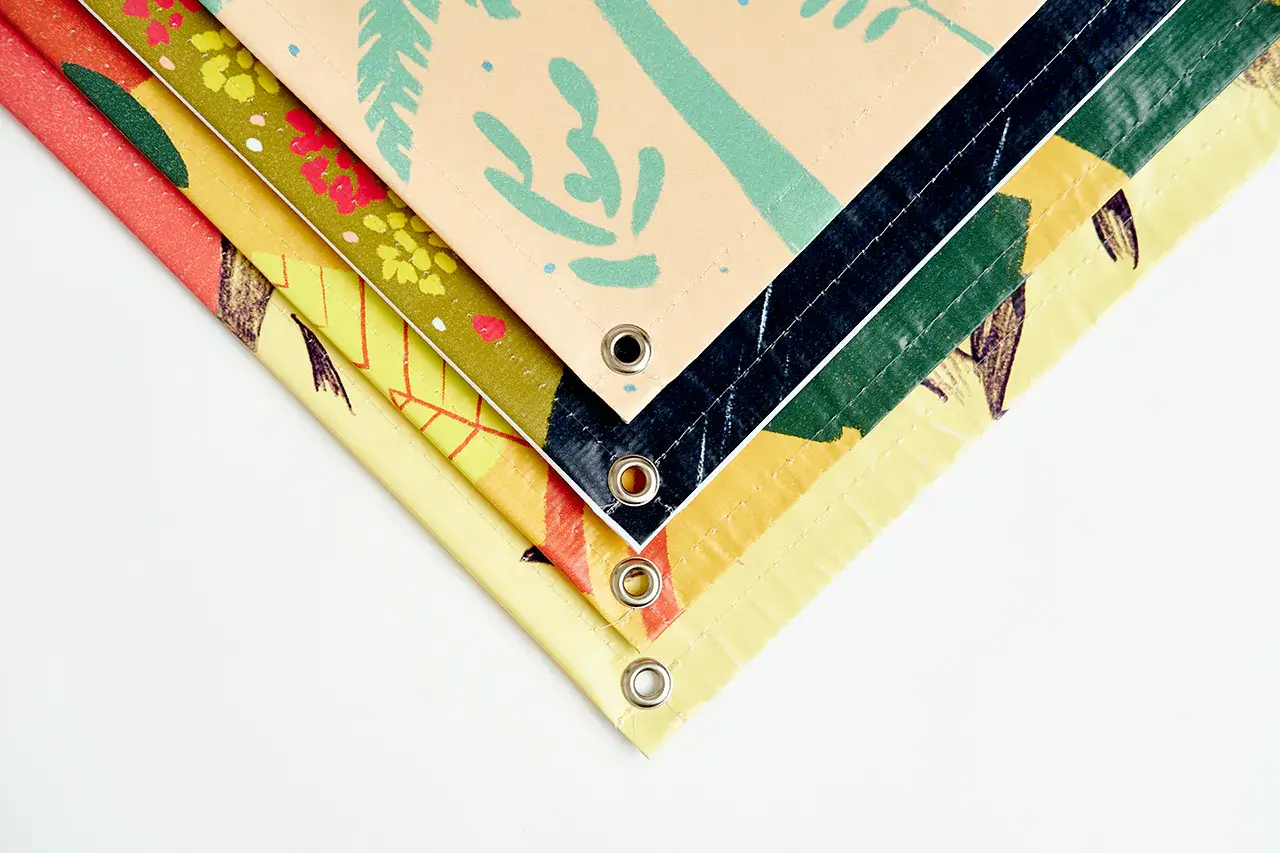
Grommets
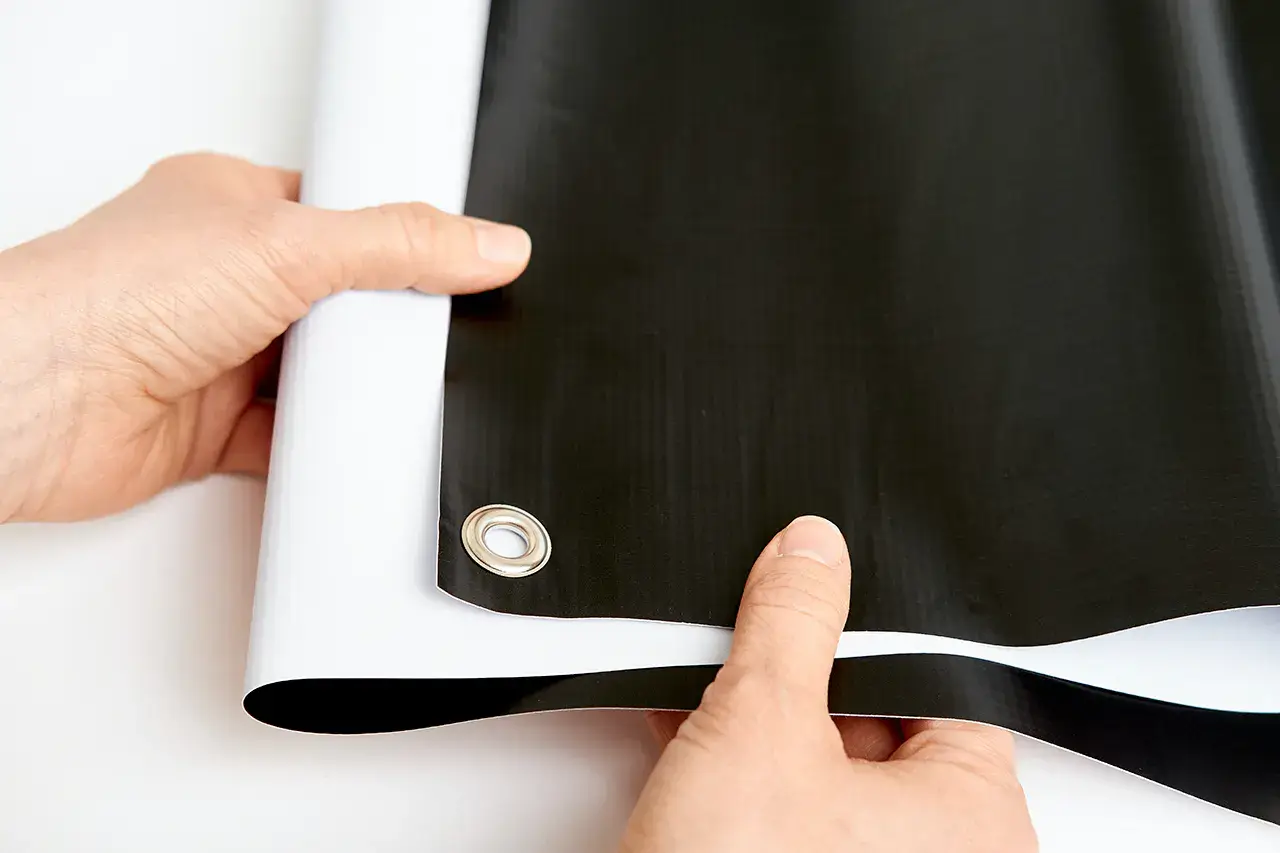
Banner grommets are metal rings that can be added to the corners (or perimeter) or your banner. They usually come in black, white, brass or nickel color.
Features
- Standard placement centers the grommet 5/8″ inside of the outer edge(s) of your banner (for both hemmed and unhemmed banners).
- For banners with both pole pockets and grommets, grommets are placed 5/8″ from the hem line.
- Grommet dimensions:
- Outer diameter: 3/4″
- Inner diameter: 3/8″
If you’re designing a vinyl banner with grommets that’s larger than 72”, the grommets should be added every 24” to help keep your banner taut.
If you select the “Every 24 Inches” placement, we evenly place grommets approximately every 24” thereafter.
For ultimate flexibility, add both grommets and pole pockets, so if the placement for your banner changes, it’s still ready to hang.
Hems with grommets are an ideal combination for outdoor banners.
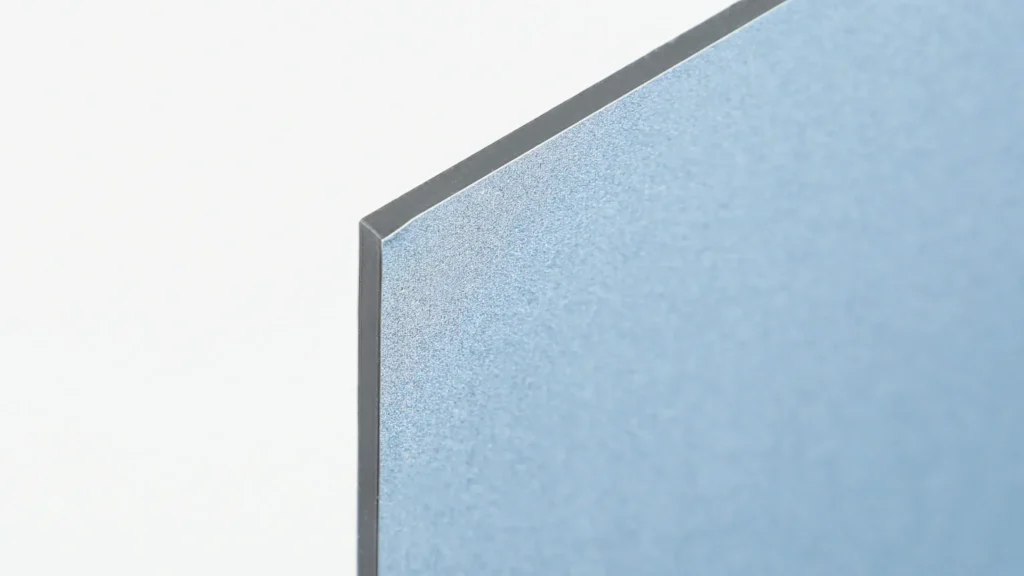
Hems
Hemstitching reinforces the edges of your banner and increases the longevity of your banner as a whole. When it comes to custom banner printing, you don’t need hemstitching if you’ve added pole pockets, but it does add durability to the other sides.
Features
- Hemstitching adds a professional-looking edge.
- It also helps avoid fraying at the edges.
- Hems are especially recommended for outdoor applications.
- When Ordering:
- Hem width is added to the banner size so the hem folds along the original art border, ensuring the finished product matches the “Final Size in Inches” you specified in the calculator.
- Stitching is placed at the specified distance from the folded edge (inside the print area of your original art).
- Hems and pole pockets cannot be on the same edge.
- If you need pole pockets, choose hems for the sides of your banner only.
Webbing Loops
Webbing loops are a great alternative to grommets. You can add them to the corners of your banner while using pole pockets. And since they are sewn onto the edges of your banner, they don’t interfere with your artwork.
Features
- White loops
- Dimensions: 2” around (approximately)
- Can accommodate larger-sized poles and dowels
- Sewn approximately 4” into each of the four corners of the banner
Ball Bungees

If you plan to hang your banner in a windy location, consider using ball bungees. Best used with grommets, they’ll let your banner move more freely than rope or zip ties – and they look better, too.
Features
- Dimensions: 9”L
- Durable and easy to use
- For best results, install a ball bungee at each corner of your display.
- The number of ball bungees selected per banner will be multiplied by how many banners you order.
Onestopdp is the premium online printer for all your banner needs. If you have questions about designing a banner, how to hang your banner, banner hardware or how to order, please contact customer service.
Learn more: Custom Banners: The Essentials for Printing & Hanging