Whether for promotions, decor or business signage, custom Window Decals are effective marketing assets for any business or industry. And learning how to install window decals is simple with the following instructions:
Before You Begin
Before you begin, we recommend that you install your decal in temperatures between 40-90°F for optimal adhesion. You also might want to consider hiring a professional installer if your decal is larger than 18” x 24”, or if it has a complex design, overlap or is tiled.
What You’ll Need
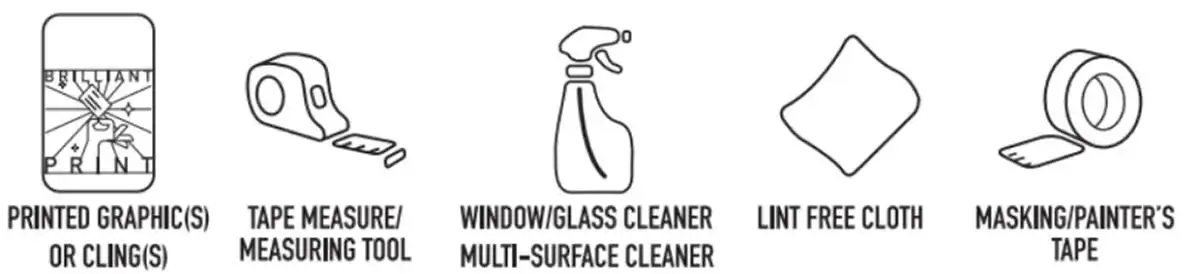
Not all of these tools are necessary. What you need may vary, depending on the install method you choose and the level of difficulty.
A tape measure or measuring tool
A glass or multi-surface cleaner
A lint-free cloth
Masking tape or painter’s tape
Application fluid (this can be made with a spray bottle of water and a couple drops of dish soap)
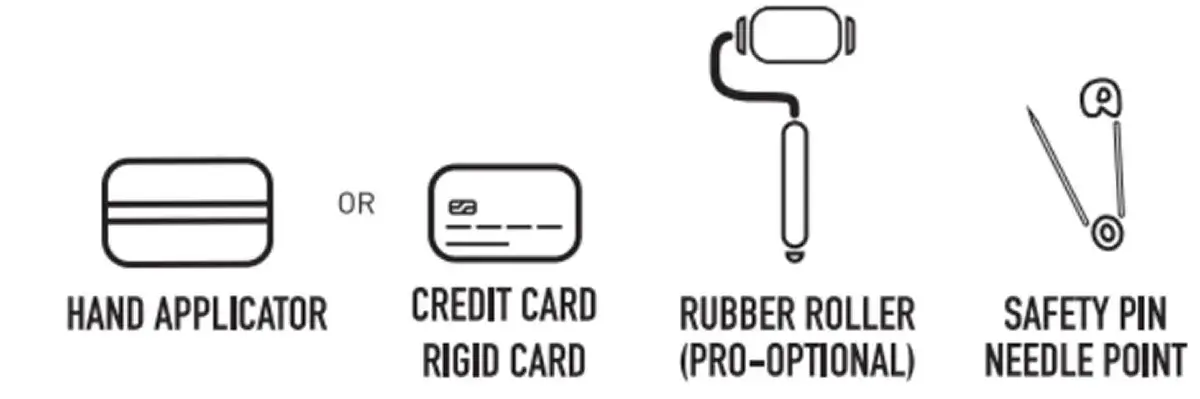
A hand applicator or credit card
A rubber roller (this one’s optional)
A safety pin
Prep Your Surface
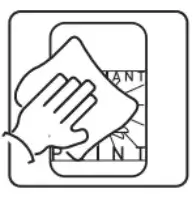
A clean surface is essential to the installation of any adhesive graphic. Use a multi-purpose cleaner to thoroughly clean the surface free of any dirt, dust, grease or other debris that may affect the adhesion process.
We recommend doing a final wipe down with water and a lint-free cloth to clear any other matter or chemicals from the cleaners that could also affect adhesion.
If you have access to Iso-propyl alcohol (IPA), a final wipe down with this is more favorable than water, but not necessary.
al shock-corded poles into the ports on the base, as shown.
Apply Your Decals
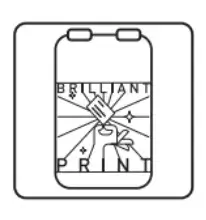
Step 1
Find the center of your decal on the window. Once you do, mark where the top of your decal will be with tape.
Step 2
Peel back the liner from your decal and set the decal back to your tape marks.
Step 3
With the top edge of the decal in place, use a hand applicator or credit card to smooth the top edge down and out from the center. We recommend placing a piece of masking or painter’s tape along the edge of your applicator to minimize the risk of scratching the decal.
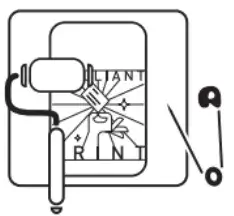
Step 4
Use a rubber roller (if you have one) to press out any air bubbles. This will create a better seal to the surface.
If air bubbles persist, use a pin and poke a hole in any that stand out to release the air. If there are too many bubbles, you may have to peel back your decal and do the smoothing process again.
Step 5
Wipe away any water residue from the smoothing process.
Since window decals have adhesive on the back, adhesion will take place immediately.